Django from first principles, part 6

MP 96: Making a page that includes data, and linking between pages.
Note: This is the sixth post in a series about building a full Django project, starting with a single file. This series will be free to everyone, as soon as each post comes out.
In the last post we made a model for blog posts, and worked with the Django ORM to pull blogs and blog posts from the database. In this post, we'll make a public-facing page where end users can see all the blogs that have been created. We'll also add links between the home page and the blogs page, so users can navigate back and forth between the two pages.
Beyond just a home page
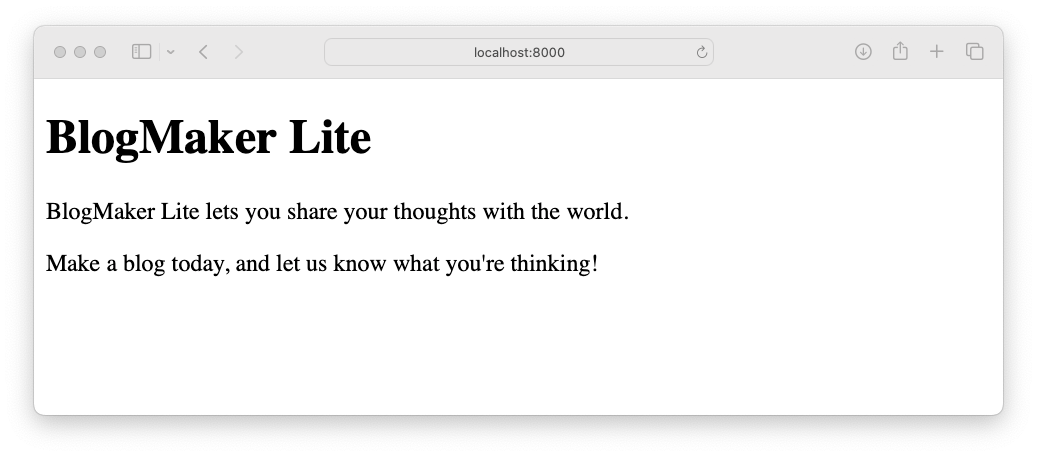
Right now, the home page is little more than a brief welcome message:
We haven't touched the home page since before we started modeling data in the project. We won't get to all this in one post, but here's a rough outline of our next few steps:
- Make a page that shows all the blogs that have been created.
- Add a link from the home page to the page that shows all the blogs.
- Make a page that shows all the posts for whichever blog the user clicks on.
- Develop a navigation system that lets users navigate between all pages in the site.
- Add just enough styling to make the project easy to use.
Let's get started.
The blogs page
We'll start by building a page that shows all the blogs that have been created so far. We'll do this in three steps:
- Define a URL for the page.
- Write a function that pulls the necessary data from the database, and sends it to the
render()function; - Write a template for this page, that incorporates the relevant information from each blog.
You can implement these steps in any order, but this is the order I usually follow.
Defining a URL
A clean URL structure reflects a clean structure for your overall project. We only have two URLs defined so far:
http://localhost:8000/
http://localhost:8000/admin/
A natural URL for the page that shows all the blogs is:
http://localhost:8000/blogs/
This is the base URL, followed by blogs/.
We'll write the code that defines this URL in the main blogmaker_lite.py file:
urlpatterns = [
    path("admin/", admin.site.urls),
    path("blogs/", blogs),
    path("", index),
]
This is a one-line change to the file, adding a new entry to the list urlpatterns. 1
The blogs() view function
The Django URL dispatcher will pass any requests matching this new URL pattern to the blogs() function, which we're about to write. If you recall from part 2, a view function defines what data the user can view on the corresponding page. The view function for the blogs page will need to pull all the blogs from the database, and then call render() with the name of the appropriate template.
Here's the new blogs() view function, again in blogmaker_lite.py:
...
def index(request):
    return render(request, "index.html")

def blogs(request):
    all_blogs = Blog.objects.all()
    context = {"blogs": all_blogs}
    return render(request, "blogs.html", context)

urlpatterns = [
    ...
This new function uses the same code for retrieving the blogs from the database that we previously used in the Django shell.
When we used the render() function to generate the home page, all the information it needed was already in the template files. This time, render() needs the all_blogs QuerySet in order to generate the appropriate response. Information that needs to be sent from the view function to render() is passed through the context argument, which is a dictionary. The name context comes from the fact that it provides the contextual information needed to render the final page that will be returned as a response.
You can pack any information you want into the context dictionary. Real-world view functions are almost always more complex than what you see here, and they can pass as much information as needed to render().
Writing a template
Now we can write a template, and the template can use any information that was passed through the context dictionary. In the template, you access that information using the keys in the context dictionary. In this case that's blogs, which points to a sequence of Blog objects.
Here's blogs.html, which should be saved in the templates directory alongside index.html:
{% extends "base.html" %}

{% block content %}
  <h1>BlogMaker Lite</h1>

  <h2>Blogs</h2>

  {% for blog in blogs %}
    <h3>{{ blog.title }}</h3>
    <p>{{ blog.description }}</p>
  {% empty %}
    <h3>No blogs have been added yet.</h3>
  {% endfor %}

{% endblock content %}The overall structure of this file is similar to index.html. It inherits from base.html, and fills in the content block from the base template. It has a header with the site title, and a level-2 header stating the title of this page, Blogs.
The main thing to understand in this file is the loop that presents information about each blog. It's easier to understand this loop by looking at a generic version, without any information specific to the project:
  {% for blog in blogs %}
    ...
  {% empty %}
    ...
  {% endfor %}
Like most templating languages, Django's template language has a limited subset of functionality compared to a general language like Python. The first tag, {% for %}, behaves just like a typical for loop over a sequence in Python. On each pass through the loop it pulls one item from the sequence blogs in the context dictionary, and assigns that item to the variable blog.
When building web apps, it's often helpful to display an appropriate message if no data has been entered yet. The {% empty %} tag allows you to do just that; it saves you from having to write a separate conditional block to handle the case where no blogs have been created yet.
Python blocks are defined by indentation levels. You can't rely on indentation inside an HTML file, so loops need a closing tag. That's what {% endfor %} does here.
Any expression wrapped in double curly braces is replaced by the value of that expression. So <h3>{{ blog.title }}</h3> will be replaced by each blog's title, wrapped in <h3> tags, as the page is rendered.
In blogs.html, the loop displays the title and description of each blog that's been created. If no blogs have been created yet, an appropriate message is displayed. You'll see this message if you destroy your current database and create a new, empty database. You'll also see this message when you deploy your project for the first time and the live database starts out empty.
Here's the page you should see at http://localhost:8000/blogs/:
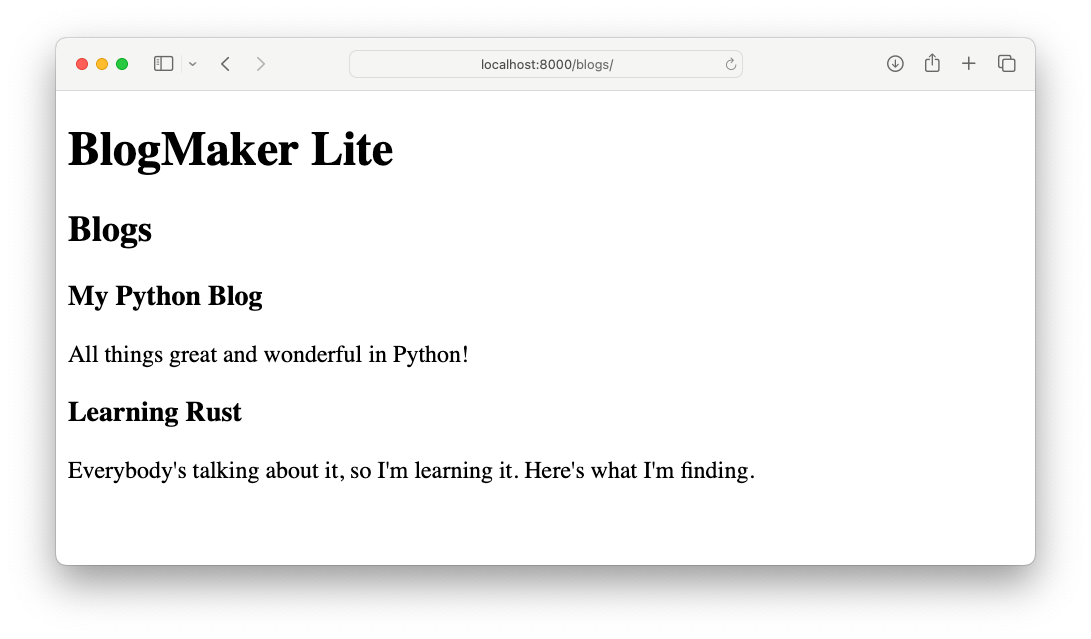
Your page will probably look a little different, depending on what sample blogs you've created.
Adding navigation
Now that we have two pages, we need to create some links between them.
Naming URL patterns
Before we can insert links into template files, we need a better way to refer to specific URL patterns. The path() function that's used in urlpatterns can accept a name argument, which makes it easy to refer to that pattern in other parts of the project, such as templates.
Here's how to name the two URL patterns we've defined so far:
urlpatterns = [
    path("admin/", admin.site.urls),
    path("blogs/", blogs, name="blogs"),
    path("", index, name="index"),
]
We add a name argument to the home page URL and the blogs URL. Now we'll be able to reference these specific patterns anywhere in the project's codebase.
Linking to the home page
No matter what page a user is currently viewing, we want them to be able to easily get back to the home page. You could add a link on every page you make, but since every page inherits from base.html, we can just put a link there. This will also remove the need to put the site title on each individual page.
Here's the change we need to make to base.html:
<!doctype html>
  ...
  <body>

    <h1>
      <a href="{% url 'index' %}">BlogMaker Lite</a>
    </h1>
    {% block content %}{% endblock content %}

  </body>
</html>
This adds the title BlogMaker Lite to every page, outside the content block. Each new page will be able to define its own content, but won't need to include the site title. In addition, the title will act as a link back to the home page.
What makes this work is the {% url %} tag:
{% url 'index' %}
The url tag acts as a lookup for the URL corresponding to the provided name. When this template is processed, Django looks for a URL pattern with the name 'index'. When it finds that pattern, it generates the URL that meets that pattern, and inserts that URL in the template where the tag was.
So, the template code:
<a href="{% url 'index' %}">BlogMaker Lite</a>
ends up being replaced by:
<a href="/">BlogMaker Lite</a>
This link, relative to the base URL that the project is being served at, will point to the home page.
We don't need the site title on the individual pages anymore, so take a moment to remove the line <h1>BlogMaker Lite</h1> from both index.html and blogs.html.
Here's the blogs page after making this change to the base template:
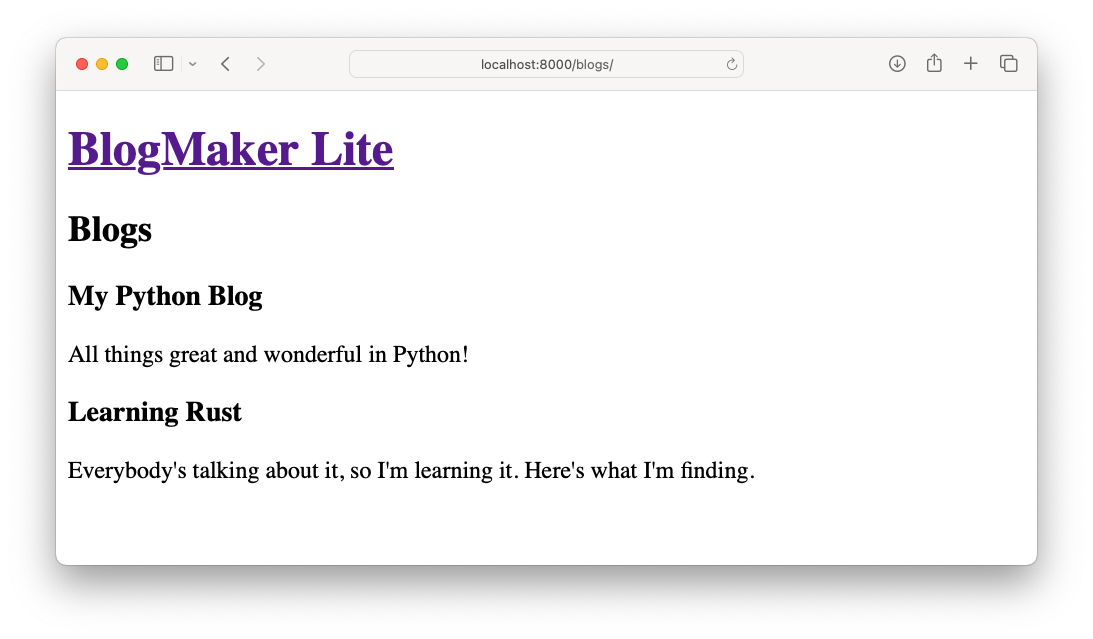
If you click the title, you'll be brought back to the project's home page.
Linking to the blogs page
Before we wrap up this installment, let's add a link from the home page to the blogs page.
Add the following to index.html:
{% extends "base.html" %}

{% block content %}
  <p>BlogMaker Lite lets you share your thoughts with the world.</p>
  <p>Make a blog today, and let us know what you're thinking!</p>

  <a href="{% url 'blogs' %}">See all blogs</a>
{% endblock content %}We add a link to the blogs page, below the description paragraphs. This link uses the {% url %} template tag, just as the base template does. In this case, Django looks for a URL pattern with the name 'blogs', and replaces the tag with the appropriate URL.
The home page should now look like this:
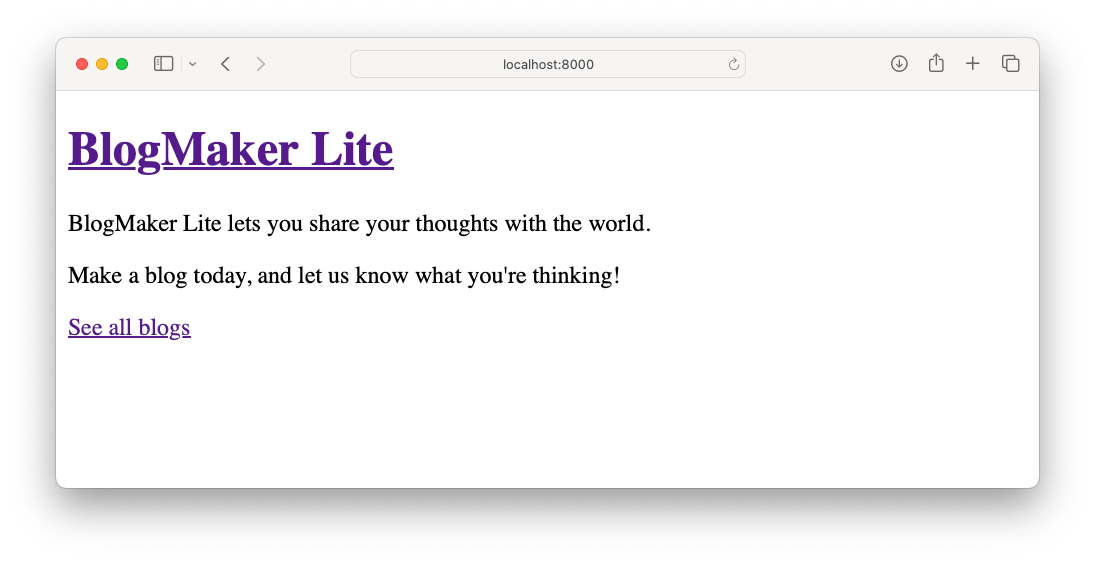
It looks pretty bland, but you should be able to click back and forth between the home page and the blogs page now. If you add a new blog through the admin site, you should see that blog the next time you visit the blogs page.
Conclusions
In this post we made a page that looks simple, but is fundamentally different from any page in a static website. It's a page that has a defined structure, but changes based on the information that's stored in the database at any given moment.
The blogs page will expand as more blogs are created. In a real-world project with meaningful usage, there would be too many blogs to show on one page. We'd have to come up with a way of showing only the most recently created blogs, the most popular blogs, or a mix of blogs the user has specified. All those options build on what was presented here.
In the next post we'll incorporate a small CSS framework into the project. This will make our simple pages look much more professional. It will help with the functionality as well, because we'll build a clean navigation bar that works in the way users expect. That will also set us up to build the next few pages we'll need, which will focus on blog posts.
Resources
You can find the code files from this post in the django-first-principles GitHub repository. The commits from this post are on the part_6 branch. Commits for this branch start at 1fcad34, with the message Added URL pattern for blogs page.
To learn more about what was covered in this post, there are several relevant parts of the Django documentation you might want to check out. Broadly, see The view layer and The template layer. For specific features covered here, you may want to skim the documentation for the render() function. Template tags are discussed briefly here. There's also a complete reference of all built-in template tags, including the url tag.
Note the trailing slash in the URL:
path("blogs/", blogs)
It's good practice to include a trailing slash in all URL patterns you define. If someone enters a URL without a trailing slash in their address bar, by default Django will add a trailing slash as it processes the request. See the documentation for the APPEND_SLASH setting.