Django from first principles, part 7

MP 98: Incorporating a minimal CSS framework, and adding custom styles.
Note: This is the seventh post in a series about building a full Django project, starting with a single file. This series will be free to everyone, as soon as each post comes out.
When you're building out a web app it's important to focus on the functionality first, and the styling second. People care more about how well your project works than what it looks like. Also, it can be easier to troubleshoot early functionality issues without the clutter of styling-related code.
That said, there are a number of reasons to consider bringing in a base level of styling early in a project. It can make the development process more enjoyable, because your project is nicer to look at. Having a simple but neat layout can make it easier to interact with your project as you're building it. Also, you'll know that you're handling things like CSS and other static resources appropriately.
In this post we'll incorporate a small CSS framework into the project, and apply some simple styling to the project's home page.
Micro CSS frameworks
Major CSS frameworks such as Bootstrap, Bulma, and Tailwind get a lot of attention, and for good reason. They're great for larger projects. But there are a large number of "micro" CSS frameworks available as well.
These frameworks try to provide the smallest amount of CSS and other resources needed to give you a reasonably well-styled site. A micro CSS framework is a great choice for a project in the early phases of development, or a project where you don't want to spend a lot of time on styling but want it to look reasonable. Popular micro CSS frameworks include Simple.css, Pico, and Min.
For this project, I'm going to use chota. Like most micro frameworks, chota just requires one relatively small CSS file.
Styling the home page
Let's use chota to add some styling to the BlogMaker Lite home page.
The chota.css file
First, make a directory called css/ at the root of your project. Copy the file chota.css into this new folder. To get a copy of chota.css, click the Download .zip button on the chota home page; then look for the chota.css file in the dist/ directory. You can also copy the contents of chota.css from this project's repository.
Your file structure should look like this:
$  tree -L 2
├── blogmaker_lite.py
├── blogs
│   ├── migrations
│   └── models.py
├── css
│   └── chota.css
├── db.sqlite3
├── manage.py
├── settings.py
└── templates
    ├── base.html
    ├── blogs.html
    └── index.html
Now chota's styles are available in the project. Let's start using them.
Modifying settings
We need to add a couple settings that let Django manage static files. Static files are files that are the same for all users, such as CSS and JavaScript files. These kinds of files can be served more efficiently than other resources that have to be rendered for each user, so they're handled a little differently.
Open settings.py, and add the following lines:
...
STATIC_URL="static/"
STATICFILES_DIRS = [
    "css",
]
This tells Django to look in the css/ directory when collecting static files from throughout the project.
Modifying base.html
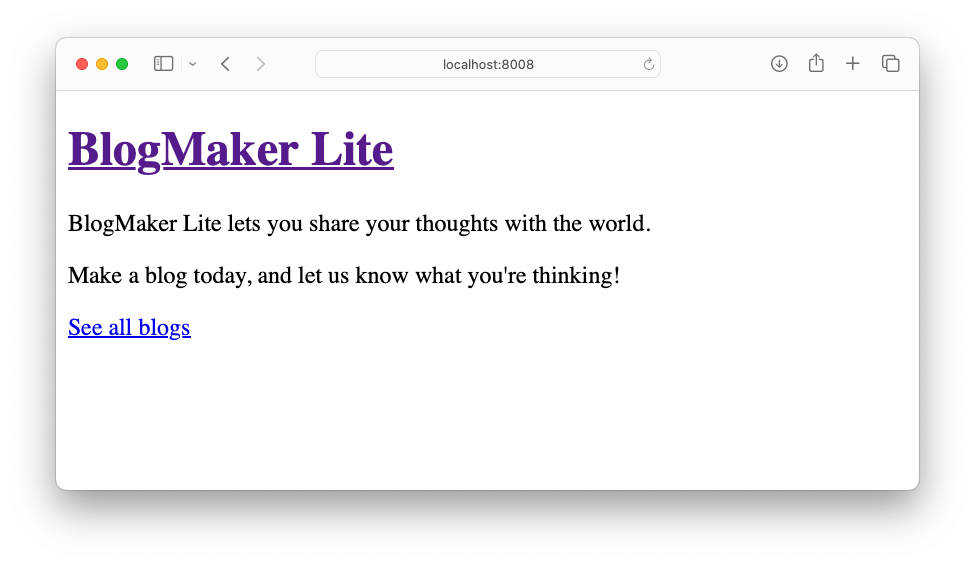
Before we make any changes, here's a reminder of what the home page looks like before adding any custom styling:
Open the base.html template, and make the following changes: 1
{% load static %}

<!doctype html>
<html lang="en-US">
  <head>
    <meta charset="utf-8" />
    <meta name="viewport"
      content="width=device-width, initial-scale=1.0" />

    <link href="{% static 'chota.css' %}" rel="stylesheet"
      type="text/css">

    <title>BlogMaker Lite</title>
  </head>

  <body>
    <nav class="nav">
      <div class="nav-left">
        <a class="active" href="{% url 'index' %}">BlogMaker Lite</a>
      </div>
    </nav>

    <div class="container">
      {% block content %}{% endblock content %}
    </div>

  </body>
</html>
The template tag {% load static %} loads the {% static %} tag. We'll use this tag any time we want to reference a static file, such as chota.css.
The <meta name="viewport" ...> element cause pages in the site to resize appropriately on different devices.
Here's the element that generates a link to the chota.css stylesheet:
<link href="{% static 'chota.css' %}" ...>
The static template tag generates the correct path to the chota.css stylesheet, regardless of where the project is being served from. For example, this is what allows static files to be handled correctly on the local system during development, as well as on the remote server when the project is deployed.
The <nav> block defines a navigation bar, which will appear at the top of each page. On the left side (nav-left) it will have the title BlogMaker Lite, which acts as a link back to the home page.
The content block is wrapped in a div element, which has the class container. This places each page's content inside a container, which can be styled as needed.
When you reload the page, you can already see some changes:
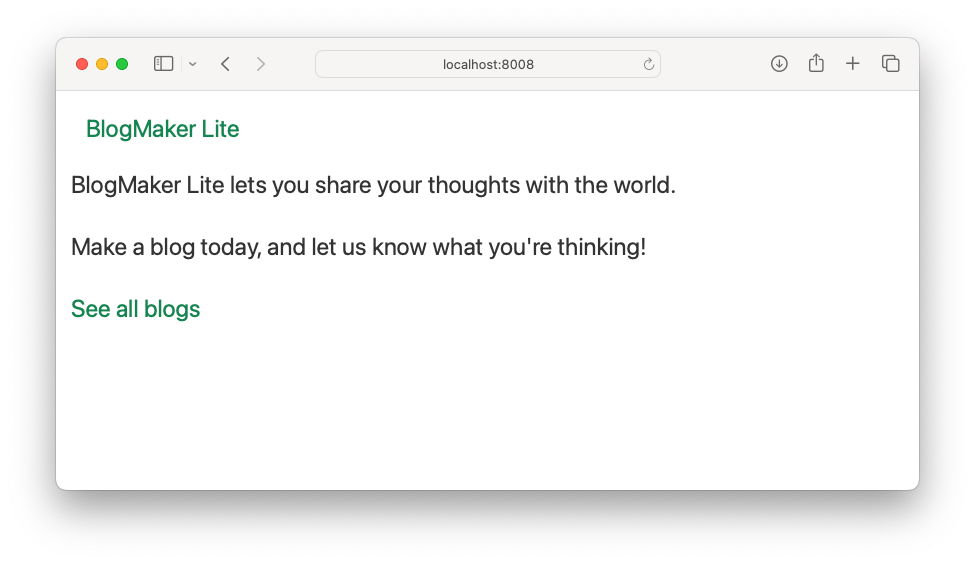
It's looking better, and more importantly we have the tools in place to continue improving the style.
Add the all blogs link to the navigation bar
Let's make better use of the navigation bar. The home page has a link labeled "See all blogs", but it would be better if this link appeared on every page.
Now that we have a navigation bar set up, this is a one-line change in base.html:
<div class="nav-left">
  <a class="active" href="{% url 'index' %}">BlogMaker Lite</a>
  <a href="{% url 'blogs' %}">All blogs</a>
</div>
We add a second link to the div with the nav-left class.
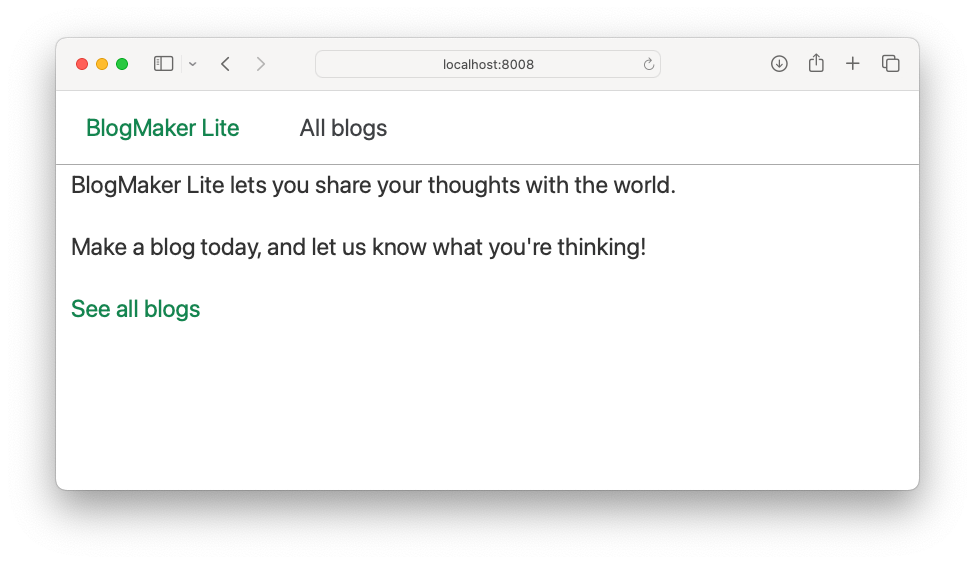
Now the navigation bar has a colored title linking to the home page, and a separate link to the All blogs page:

That's more functional, but the navigation bar doesn't stand out from the page much at all. Let's fix that.
Add a border to the navigation bar
One of the advantages of micro frameworks such as chota is that many of them are easy to extend with your own CSS rules. Let's add a border to the bottom of the navigation bar, so it stands out from the rest of the page. This will also make sure we can manage our own CSS correctly, as well as third-party CSS.
Make a new, empty file in the css/ directory called custom.css. Add the following rule to that file:
.nav {
    border-bottom: 1px solid #aaa;
}
This rule applies a 1-pixel solid gray border to the bottom of the nav element.
For this rule to take effect, we need to load the custom.css stylesheet in base.html:
<head>
  ...
  <link href="{% static 'chota.css' %}" rel="stylesheet"
    type="text/css">

  <link href="{% static 'custom.css' %}" rel="stylesheet"
    type="text/css">

  <title>BlogMaker Lite</title>
</head>
Now when you reload the page, you should see the navigation bar set off from the rest of the page:
This is better; now we can move on to the content part of the home page.
Styling the home page content
The navigation bar is set off from the content on the home page by a border, but the similarity in text styles makes everything blend together. We'd like to make the content on the home page stand out in a way that emphasizes the core message we're communicating about the project.
Rather than try to come up with style rules right away, I like to make a quick sketch of the structure I'd like to see on a page. A one-minute sketch can save lots of time fiddling with CSS rules, trying to find something that looks reasonable. Here's my one-minute sketch for the home page:
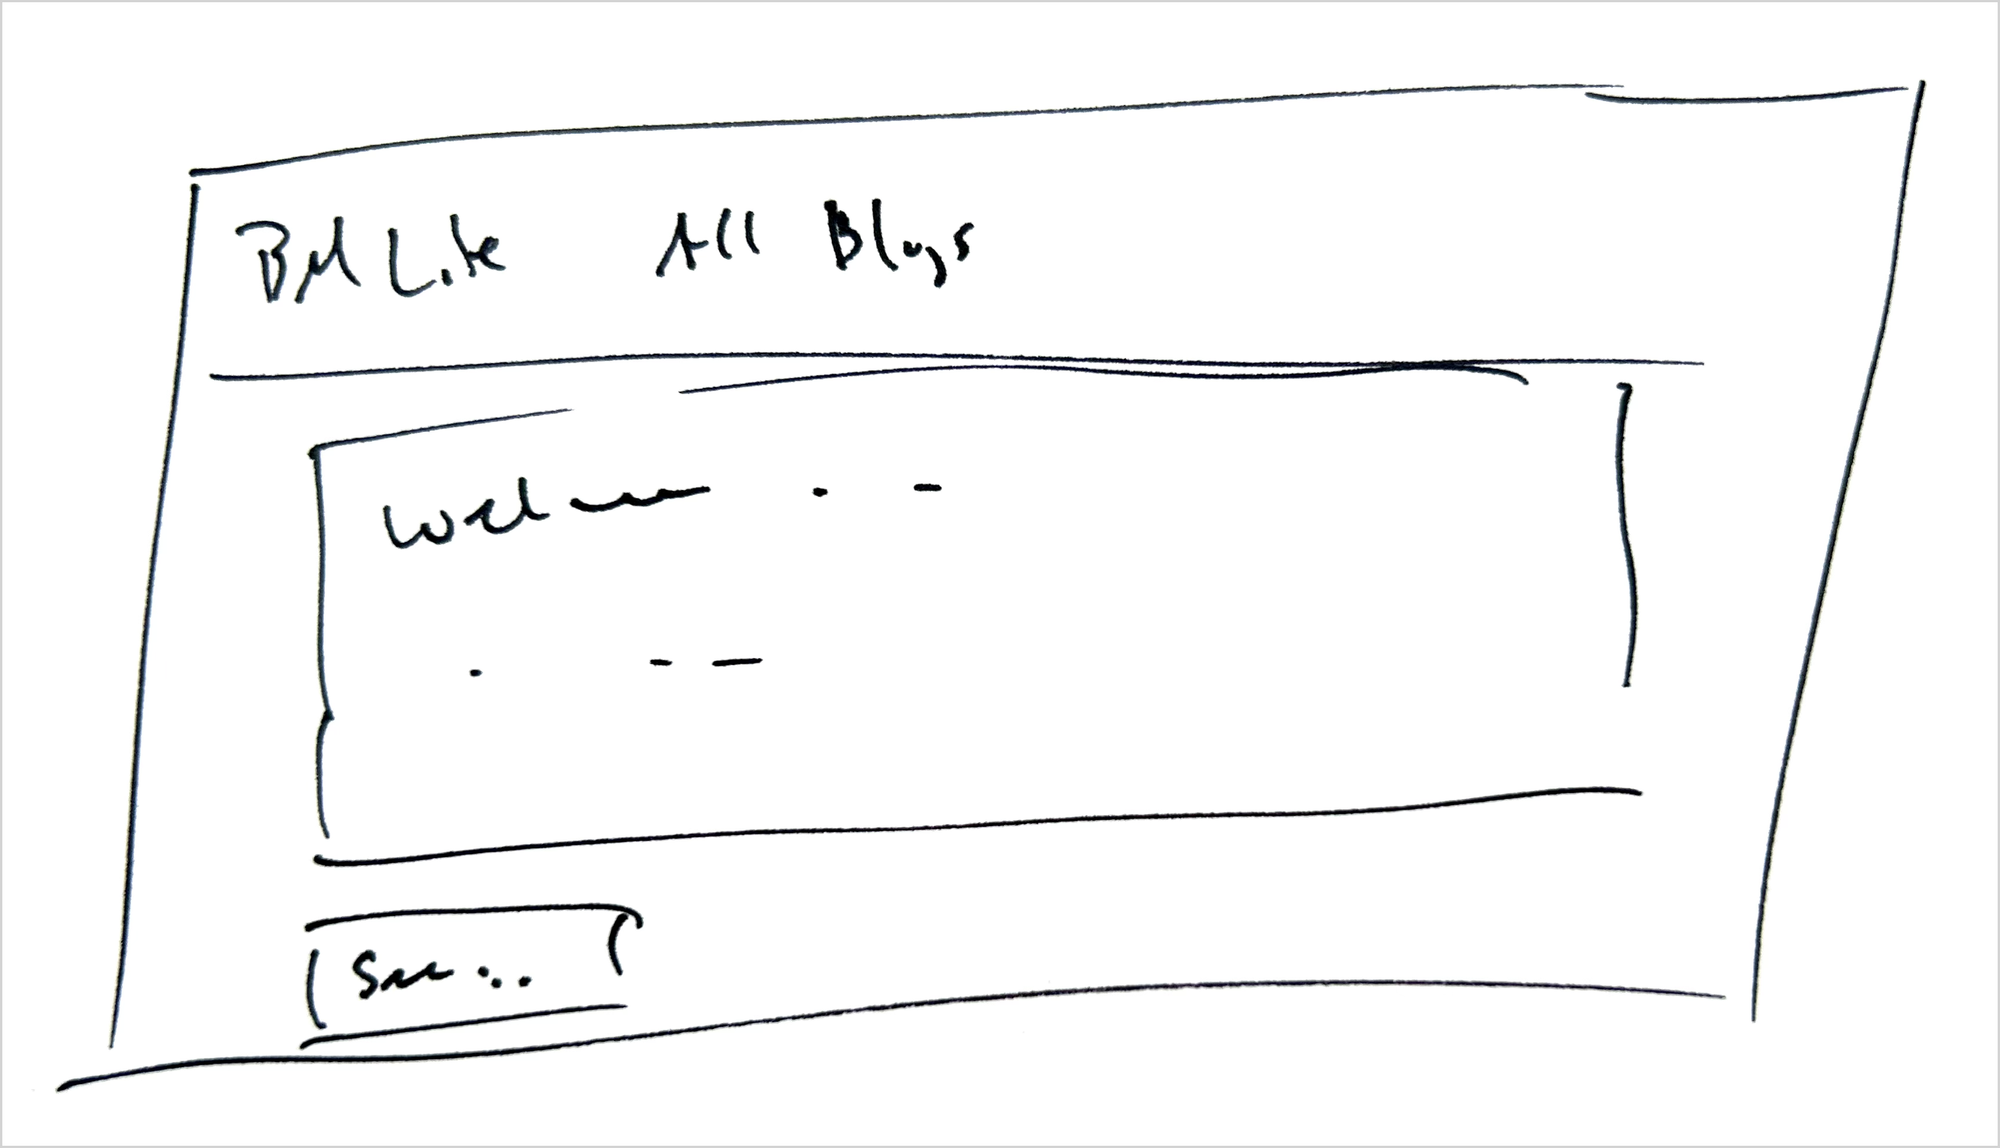
This gives some clear direction for how to restructure the content on the home page. We'll wrap the main content in a box, and turn the See all blogs link into a button.
Modifying index.html
We'll first add some structure to index.html, and then write a few custom style rules that apply to that structure.
Open index.html, and make the following changes:
{% extends "base.html" %}

{% block content %}

  <div class="hero">
    <p><span class="title">BlogMaker Lite</span> lets you...</p>
    <p>Make a blog today...</p>
  </div>

  <a class="button primary" href="{% url 'blogs' %}">
    See all blogs</a>

{% endblock content %}Wrapping content in a div element lets us apply block-level styling to that element. Here we wrap the main content of the page into a div element, with the class hero. This is a common name for a large box, typically used on a home page, that contains a core message about a site. We'll add some simple style rules to make that box stand out.
We'll also want to make the title BlogMaker Lite stand out in the main description, so we wrap it in a span element with the class title. Finally, we add the classes button and primary to the See all blogs link. These are taken straight from the resources chota offers for styling buttons.
Adding custom styles
Now open custom.css, and add the following:
.nav {
    border-bottom: 1px solid #aaa;
}

.hero {
    margin-top: 25px;
    margin-bottom: 25px;
    padding: 15px;
    background-color: #e8e8e8;
    border-radius: 8px;
    font-size: 2rem;
}

.hero p {
    margin-bottom: 10px;
}

.title {
    font-size: 2.5rem;
}
There are three new sets of rules in custom.css. The hero element has margin and padding settings that create some space around it, setting it off from the navigation bar and the edges of the screen. It also has a light gray background with rounded corners, and a larger font size.
The paragraphs inside the hero box (.hero p) have more space between them than unstyled paragraphs. Finally, the span element with the title class has a larger font size.
Here's the newly-styled home page:
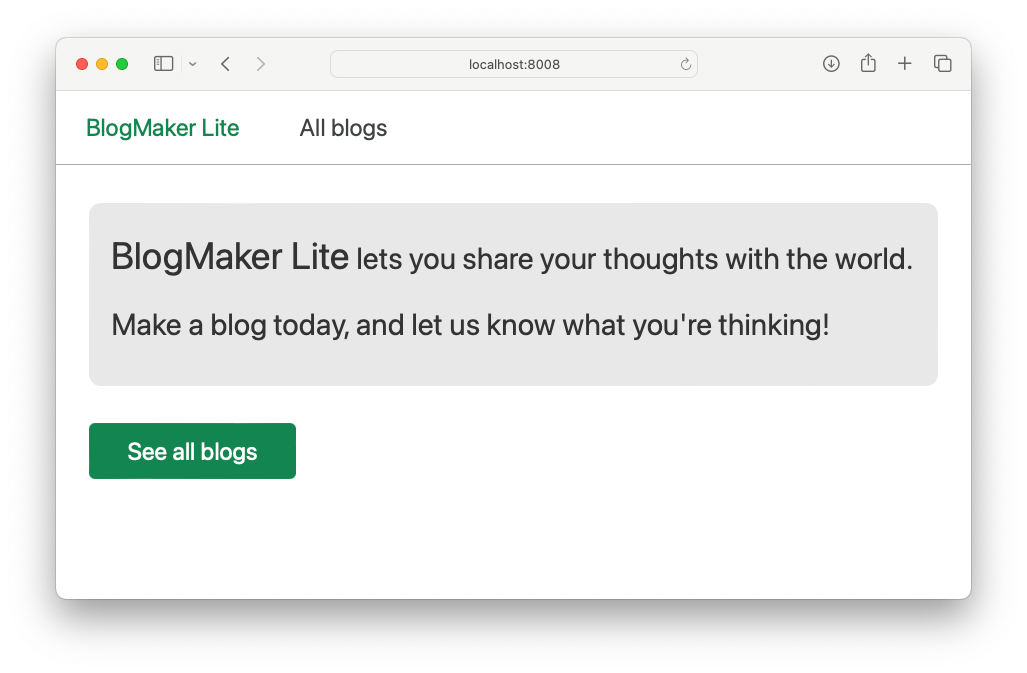
You'd probably want to do more styling work at some point, but this is a significant improvement over the original version with no styling. It looks a little nicer, and the role of each element on the page is much clearer.
Conclusions
In this post we brought in a minimal CSS framework to get started on styling the project, without cluttering the HTML files too much. The focus in early development should be on functionality, but some styling helps clarify what each element on the page does. As we continue to build out BlogMaker Lite, being able to apply minimal styling to new pages will help us evaluate the functionality of those pages as we work.
Feel free to customize the styling a bit further, but don't get carried away with styling at this point in a project. Things are going to change, so you may well have to restructure the pages you're working on anyway. Make a quick sketch of the page you're working on if you're not entirely clear what it should look like, and then write a few rules that give you something that looks roughly like your sketch.
In the next post we'll apply this same kind of styling approach to the All blogs page. Then we'll see how Django manages static files across a project, so we're ready to manage static files when we get to deployment.
Resources
You can find the code files from this post in the django-first-principles GitHub repository. The commits from this post are on the part_7 branch. Commits for this branch start at d3ff890, with the message Added chota.css.
Some HTML elements are broken across lines in the listings shown here, to accommodate for narrow screens. These elements are written in a more standard format in the main repository for this project.
If indentation makes anything look confusing here consider looking at the full file, with standard formatting, in the main repository.