Django from first principles, part 3
MP 92: A better home page, using templates.
Note: This is the third post in a series about building a full Django project, starting with a single file. This series will be free to everyone, as soon as each post comes out.
In the last post we wrote a single file of Python code that serves a home page with Django. The "home page" wasn't very satisfying though—it just displayed a title. In this post, we'll fill out that home page so it tells users what they can expect to do on the site. It still won't say a whole lot, but we'll build out a structure that lets us develop the site much more fully.
Expanding from a single-file project
Our project currently has just one main file, blogmaker_lite.py:
(.venv)bml_project$ tree -a -L 1
├── .venv
└── blogmaker_lite.py
In this file, the home page is defined in the index() view function:
def index(request):
    return HttpResponse("BlogMaker Lite")
This function takes the string "BlogMaker Lite", and wraps it into an HTML file.
We could continue to build out the home page by writing a longer string, including some HTML:
def index(request):
    title = "BlogMaker Lite"
    description = "Start a blog!"

    page_text = f"<h1>{title}</h1>"
    page_text += f"<p>{description}</p>"

    return HttpResponse(page_text)
To see this change, you can run the project again using the runserver command:
(.venv)bml_project$ python blogmaker_lite.py runserver
...
Starting development server at http://127.0.0.1:8000/
Quit the server with CONTROL-C.
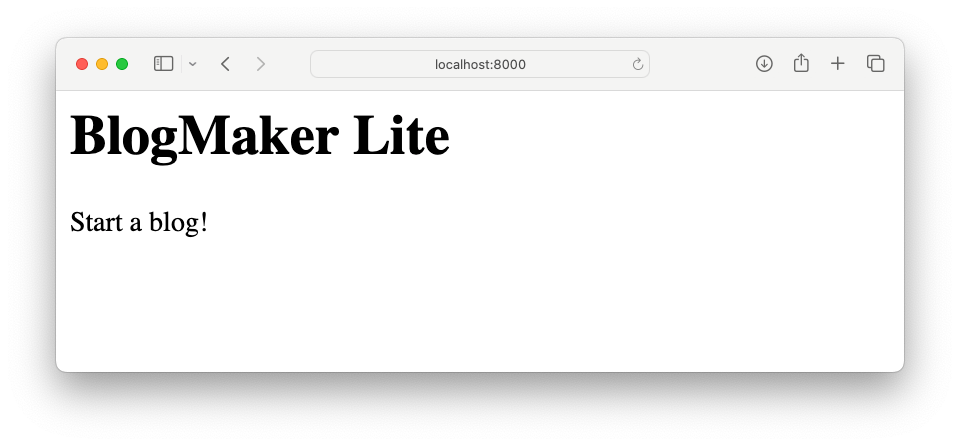
If you visit the URL shown in the output, you'll see the updated page:

This is better than what we had, but it would be hard to build out a meaningful home page by writing a bunch of Python strings containing HTML. Instead, let's use Django's templating system.
Adding a template
Most HTML pages include a bunch of text that's the same for everyone, and some information that's specific to each user. Django's templates allow you to write HTML pages much like you write f-strings. The template is a mix of static text, and code that inserts dynamically-generated information into the page.
For the current version of the home page, the template is just an HTML file. Make a new folder called templates, and save a file named index.html in that folder:
<h1>BlogMaker Lite</h1>

<p>BlogMaker Lite lets you share your thoughts with the world.</p>
<p>Make a blog today, and let us know what you're thinking!</p>
To use this template for the home page, we need to make some changes to the main file:
from pathlib import Path

...
from django.core.management import \
    execute_from_command_line
from django.shortcuts import render

settings.configure(
    ROOT_URLCONF=__name__,
    DEBUG=True,
    SECRET_KEY="my-secret-key",
    TEMPLATES=[
        {
            "BACKEND": "django.template.backends.django.DjangoTemplates",
            "DIRS": [Path(__file__).parent / "templates"],
        }
    ],
)

def index(request):
    return render(request, "index.html")

...
To use Django's templates, we need to provide some more information in the settings section of the main file. Specifically, we have to specify which template backend to use; here we're using the default DjangoTemplates backend. We also need to tell it where to look for our template files. The DIRS entry in TEMPLATES tells Django to look in the templates folder, which is in the main project folder. 1
Now that all the text for the home page is in index.html, the index() view function becomes simpler. Instead of calling HttpResponse(), it calls render(). The render() function looks at a template, inserts any needed information into it, and renders the final HTML file. In this case there's no information to insert, so the template itself is identical to the HTML page that's generated. That will change shortly when we use the templating system more fully, and when we allow users to enter data.
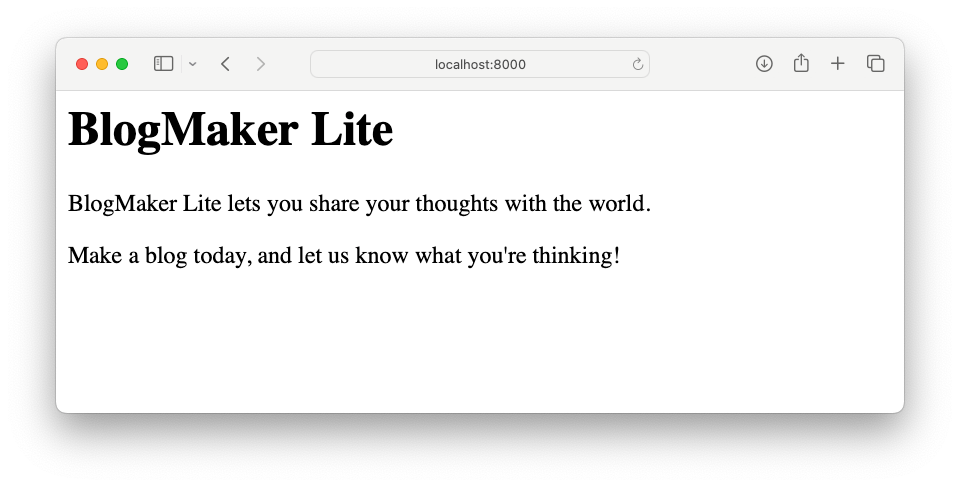
With these changes, you should see the following page:

If you don't see the new home page, restart the server to pick up the settings changes.
A valid HTML file
It's much easier to write out HTML in a separate file than it is to write Python strings that then generate an HTML file. Let's take advantage of this right away by filling out the rest of the template, and making it a valid HTML file:
<!doctype html>
<html lang="en-US">
  <head>
    <meta charset="utf-8" />
    <title>BlogMaker Lite</title>
  </head>
  <body>

    <h1>BlogMaker Lite</h1>

    <p>BlogMaker Lite lets you share your thoughts with the world.</p>
    <p>Make a blog today, and let us know what you're thinking!</p>

  </body>
</html>
Note that most template files have 2 spaces per indentation level instead of the typical 4 for Python files. People use this convention because templates tend to have more levels of nesting than Python code files.
The home page probably doesn't look any different in the browser, but it's now a fully valid HTML file. It should render correctly in all browsers and screen readers.
The template-based approach also lets you copy HTML templates from other sources such as CSS frameworks, and use them to serve your pages without complicating your Python files. We'll add a CSS framework shortly in order to make our project look more presentable.
Using template inheritance
It's nice to have a valid HTML file, but now the information specific to our home page is mixed in with HTML boilerplate. That boilerplate will need to appear on every page in the project. Django's template system allows you to build a template hierarchy, using a concept called template inheritance.
We're going to break index.html into two parts. The first part will have all the boilerplate HTML that every page will need. It will also have a space reserved where we can insert information that's specific to one page, or a related set of pages.
Make a new file in the templates directory, called base.html:
<!doctype html>
<html lang="en-US">
  <head>
    <meta charset="utf-8" />
    <title>BlogMaker Lite</title>
  </head>
  <body>

    {% block content %}{% endblock content %}

  </body>
</html>
Most of this file is identical to what we had in index.html. The only difference is the use of the {% block %} tag. This is a block, named content in this example, that we can fill in using another template.
With all the boilerplate stored in the base.html template, index.html can be simplified:
{% extends "base.html" %}

{% block content %}

  <h1>BlogMaker Lite</h1>

  <p>BlogMaker Lite lets you share your thoughts with the world.</p>
  <p>Make a blog today, and let us know what you're thinking!</p>

{% endblock content %}
The {% extends %} tag tells Django to start with the base.html template any time index.html is used to render a page. So, Django starts building the page with base.html. When it reaches the content block in base.html, it looks to see if index.html also defines a block named content. If it does, that information gets inserted into base.html:

content block in index.html is inserted into the HTML boilerplate defined in base.html.The rendered file is the same, but we now have a structure that's much easier to work with and maintain over time. When we add a navigation bar, for example, that will go in base.html. Then the navigation bar will show up on the home page, and it will carry over to every other page that inherits from base.html as well.
A separate settings file
The main blogmaker_lite.py file isn't particularly long at this point; it's still just 32 lines including blank lines. However, the TEMPLATES setting introduces four levels of indentation. As the project continues to evolve, the settings section will only grow in complexity. Let's break that section out into a separate file.
In the root folder, bml_project in my case, make a new file called settings.py:
from pathlib import Path

ROOT_URLCONF="blogmaker_lite"

DEBUG=True

SECRET_KEY="my-secret-key"

TEMPLATES=[
    {
        "BACKEND": "django.template.backends.django.DjangoTemplates",
        "DIRS": [Path(__file__).parent / "templates"],
    }
]
The main thing that's changed is the setting for ROOT_URLCONF. The project's URLs are still defined in blogmaker_lite.py, so we give Django the name of that file. There are some other minor changes here, because everything that was an argument in settings.configure() is now a top-level code object in settings.py.
The main file now needs to load the settings from settings.py:
from pathlib import Path
import os

import django
from django.urls import path
...
from django.shortcuts import render

# Load settings.
os.environ.setdefault("DJANGO_SETTINGS_MODULE", "settings")
django.setup()

def index(request):
    return render(request, "index.html")
...
The import statements have changed slightly. The most important change in the file is a line that tells Django where to find the settings, and a line that loads the settings. The call to os.environ.setdefault() defines an environment variable called DJANGO_SETTINGS_MODULE, with the value "settings". This tells Django to look for settings in a file called settings.py. The call to django.setup() takes care of some setup work that was previously being done by settings.configure(). 2
This might not look like much of a simplification. However, as the number of settings required to properly serve the project grows, it will be much nicer to have all the settings together in a single file outside the main project file.
Conclusions
At the beginning of this post, we only had one file in our project. Now we have a total of four files:
(.venv)bml_project$ tree -a -L 2
├── blogmaker_lite.py
├── settings.py
└── templates
    ├── base.html
    └── index.html
We've broken the project out into a separate settings file, and two template files. The project has grown more complex, but we have specific reasons for every file that currently exists in the project.
Django's templating system works quite well, and there are many sites handling large amounts of traffic that use it. However, if you prefer you can swap out Django's default system for an alternative such as Jinja. You can also use Django to manage your data on the backend, and use any frontend framework you like for rendering your HTML files.
In the next post we'll start to define the data that's specific to this project. We'll build a model for how to represent a blog in code, and we'll start to add actual blogs to the project.
Resources
You can find the code files from this post in the django-first-principles GitHub repository. The first commit from this post is 982bcd, and the last commit from this post is 055b92.
If you're unclear on the use of __file__, see MP 87, Calculated file paths.
If you're curious, you can see the source code for django.setup() here.


